Nail Art: 14 Elegant Types Of Nail Designs+Photos
Nail Art: Nail designs are a fun way to express your personality or update your style for the new season. A standout nail design is a compliment magnet, conversation starter and mood booster all in one. From abstract swirls to sweet floras to color-pop tips, there are endless ways to switch up your look. All you need is an hour (or less), a bottle or two of nail polish and a few nail art tools (depending on the design).
Whether you’re looking for ideas for an at-home manicure or for your next salon visit, check out these 14 inspiring nail designs.
A close-up of a hand holding a box of press-on nail extensions. Nails painted with an abstract design.
Abstract Nails
Abstract nails offer an unconventional look with countless interpretations. Start by using a nail brush to make squiggles of varying widths in your color(s) of choice. Add a design to each nail or, for a unique look, every other nail.
Ombré Nails
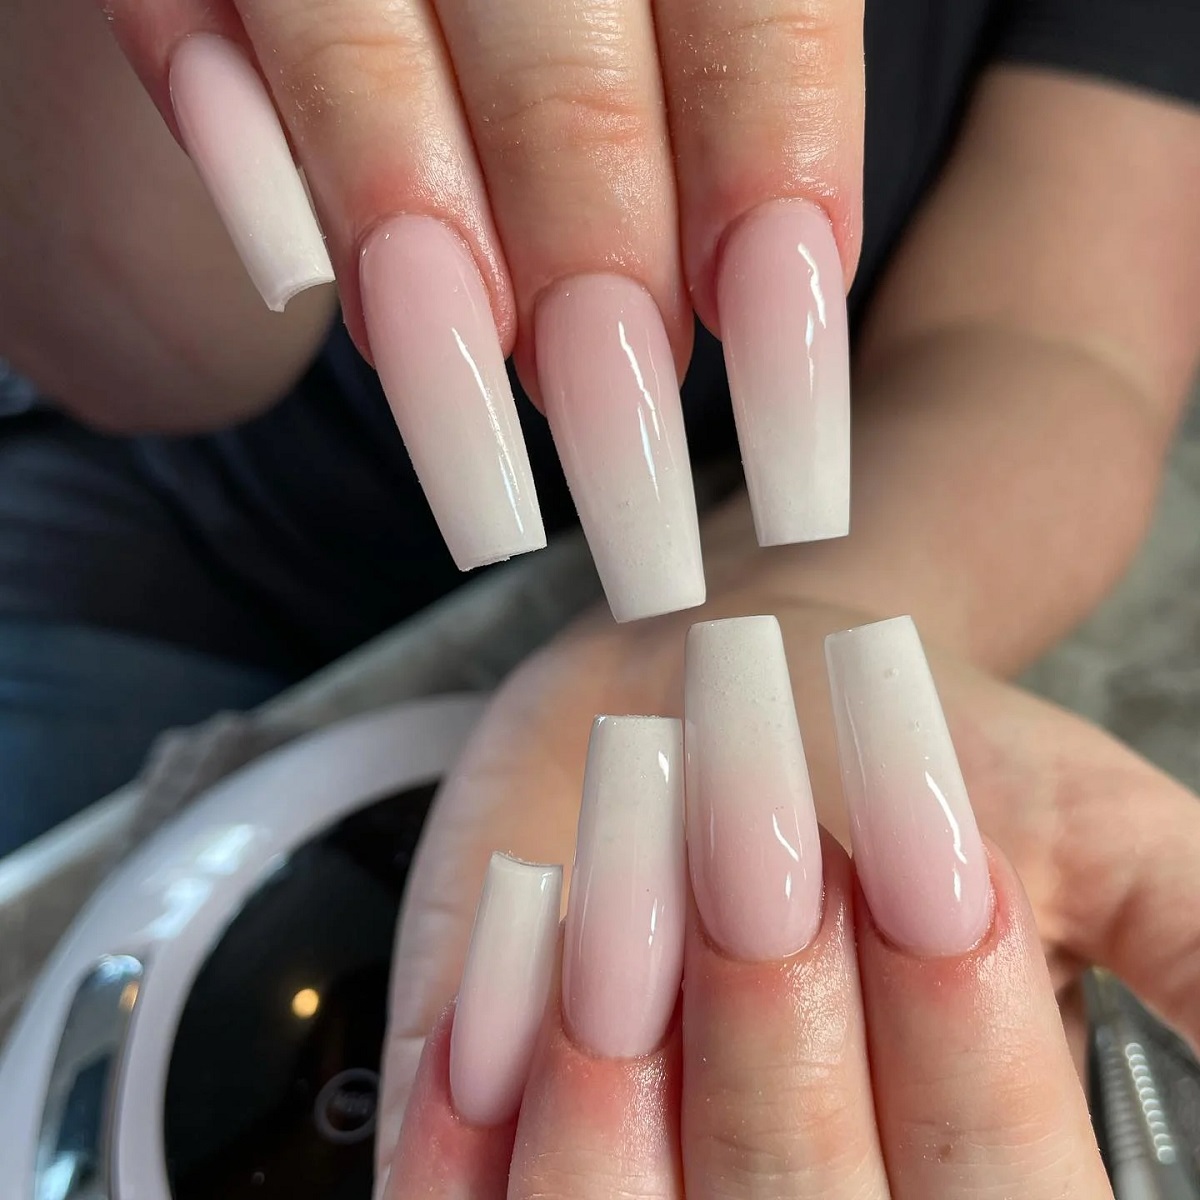
Nail Art, For the perfect ombré nail design, you’ll need a wedge makeup sponge and two or three nail polish colors that will blend seamlessly. Cut the flat edge of the sponge to fit the width of your nail. Brush the colors across the sponge in straight lines, then gently press the sponge onto your nail. Seal with top coat and you’re done!
Black & White Nails

One way to achieve this sophisticated nail style is by using the half-moon shape at the base of your nail as a guide. Paint white polish across your nail—taking care to leave the half-moon area open—and then fill in the empty spot you created with black polish. If your half-moon areas aren’t visible, simply create the rounded shape using a thin nail liner brush.
Floral Nails
Nail Art, Grab a dotting tool or a liner brush and at least two nail polishes. For simple flower shapes, use your tool of choice to start your petal from the outside and paint toward the center. Paint five or six petals per flower and finish them with a center dot in a different color.
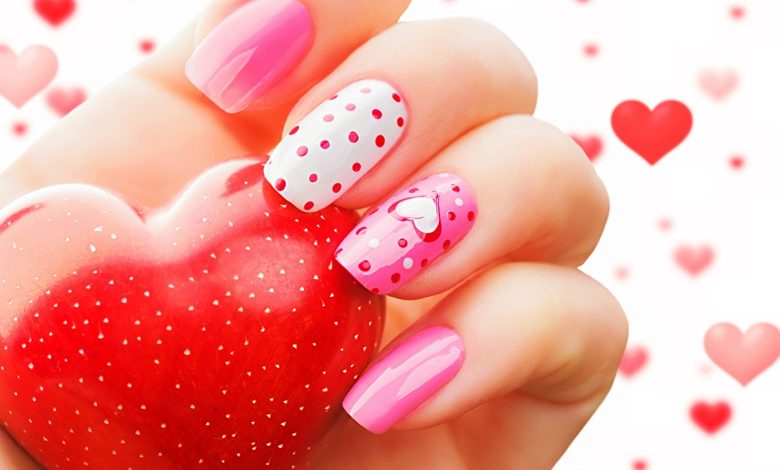
Dot Nails
This whimsical design is easy to do. Start by painting the entire nail in one color to create a background. Once this first layer dries, use a nail tool to carefully dab a series of dots across each nail. Make sure your dots are fully dry before applying top coat to prevent smudging.
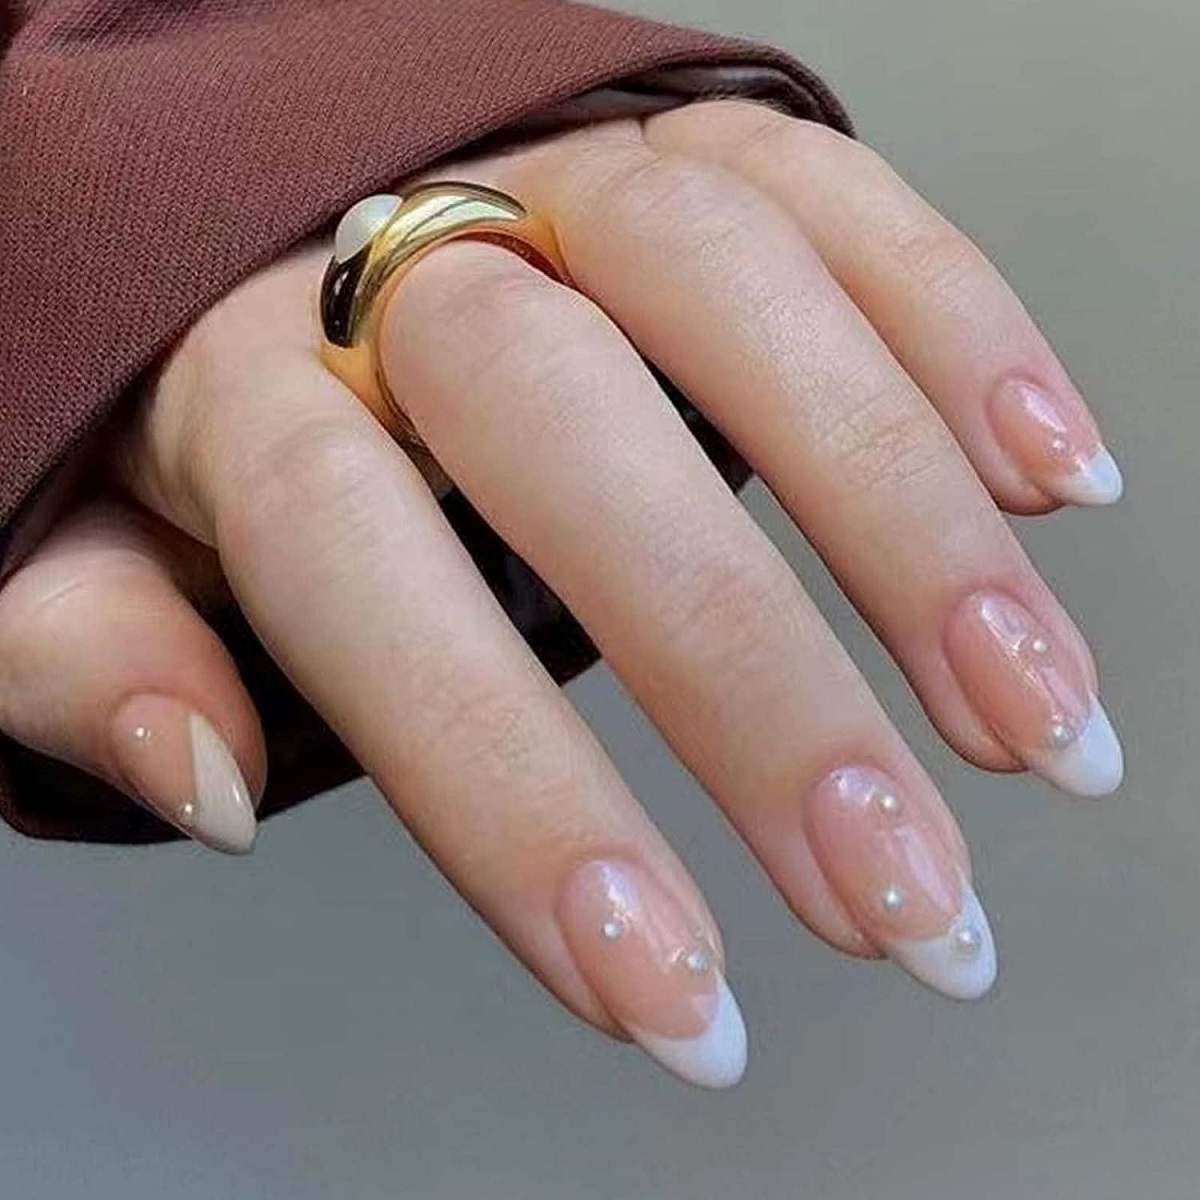
Colored-Tip Nails
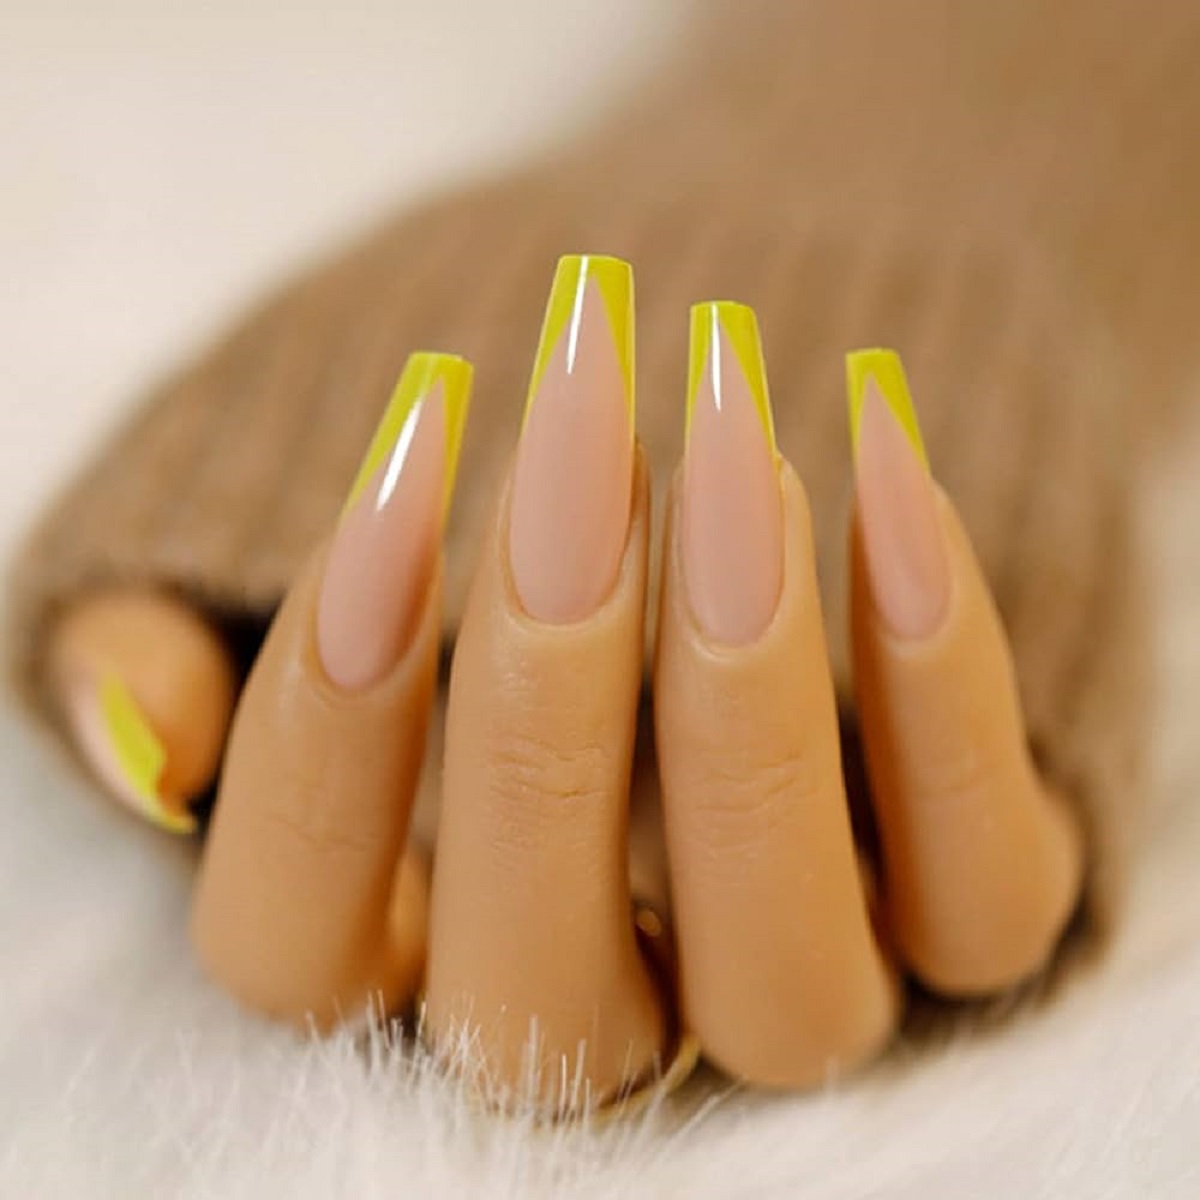
Nail Art, Put a twist on the classic French manicure with a fresh color combination. You can start with a clear base coat or choose a color for a bolder look. After your first layer dries, paint a contrasting color across the tip of your nail using a thin liner brush. Tip: follow your nail’s free edge to make an even, symmetrical line.
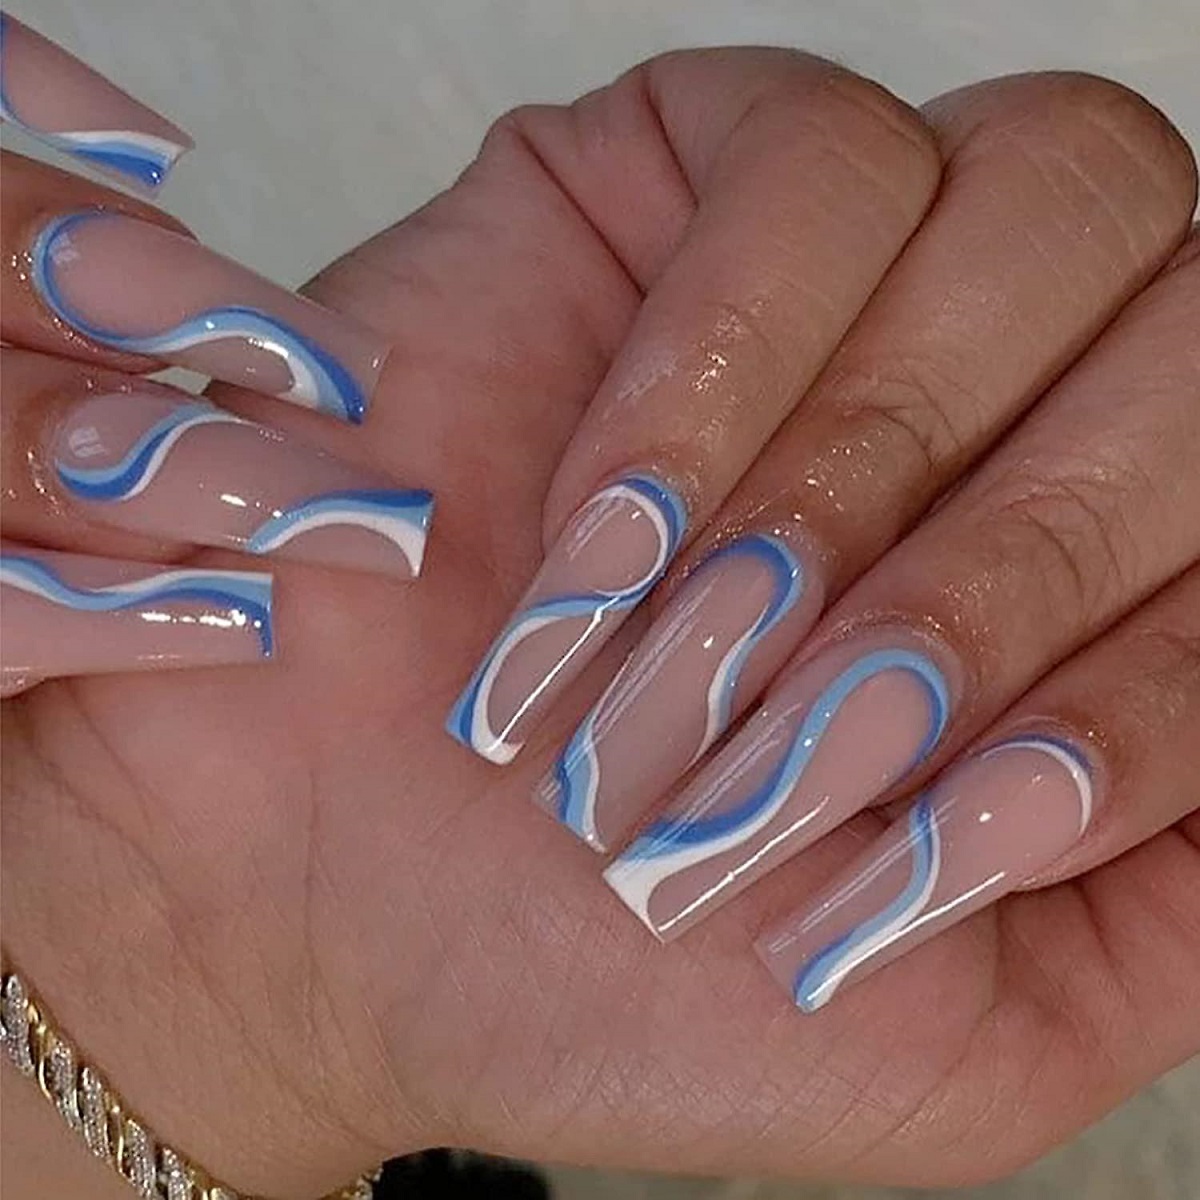
Line Art Nails
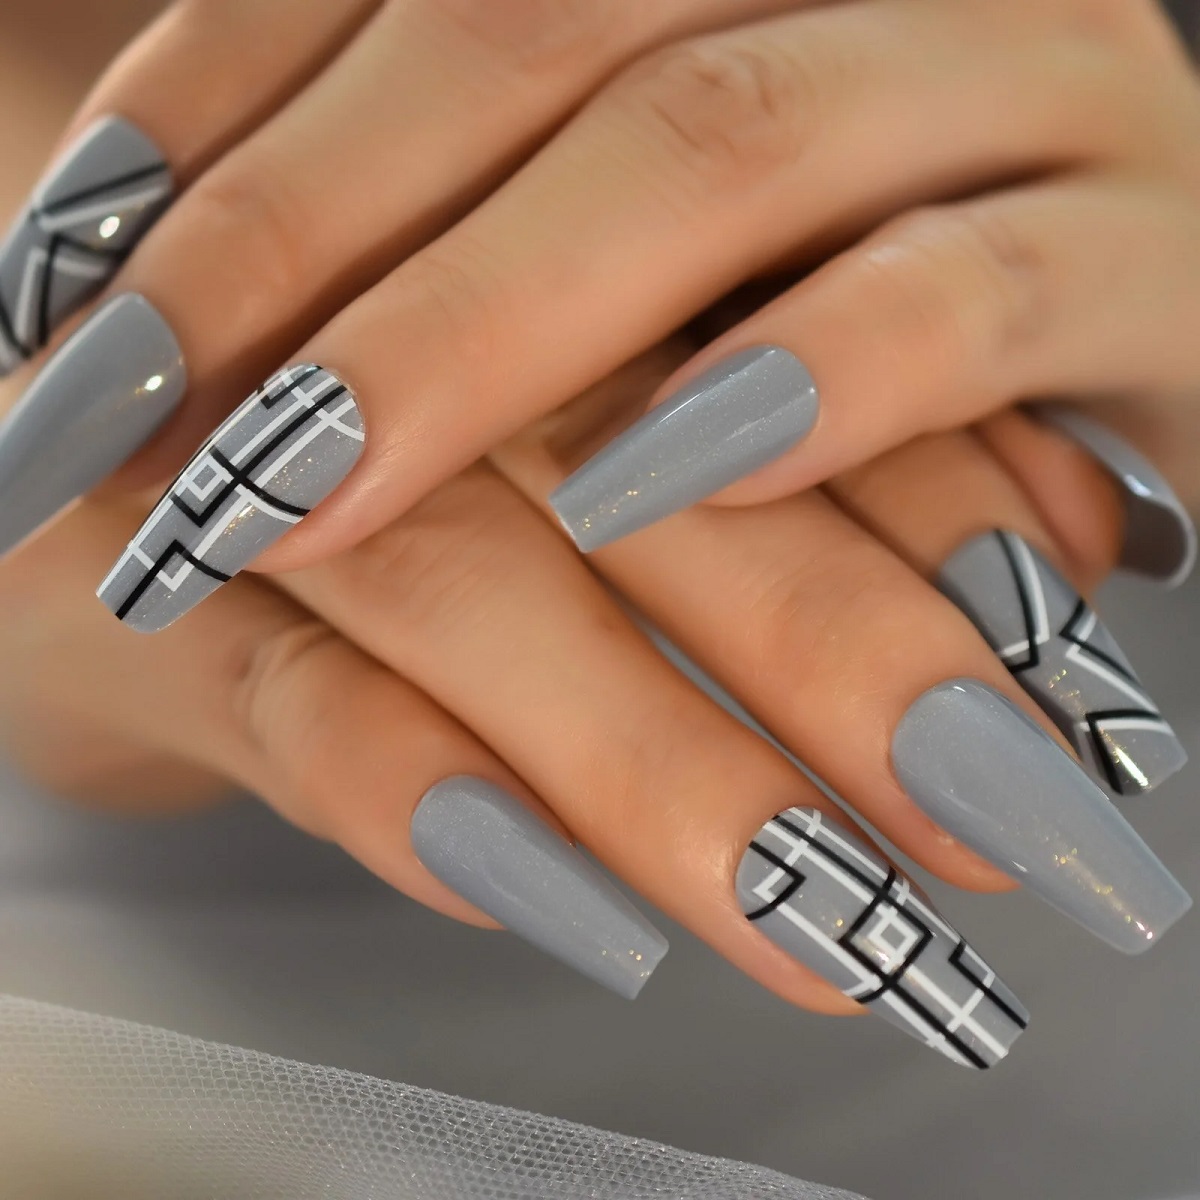
A line art design can be as simple or as intricate as you want it to be. Paint a background color on your nail and let it dry, then dip your liner brush in a different color. Sweep the brush across the nail in curvy, straight or crisscrossing lines to create a cool design.
Nature-Inspired Nails
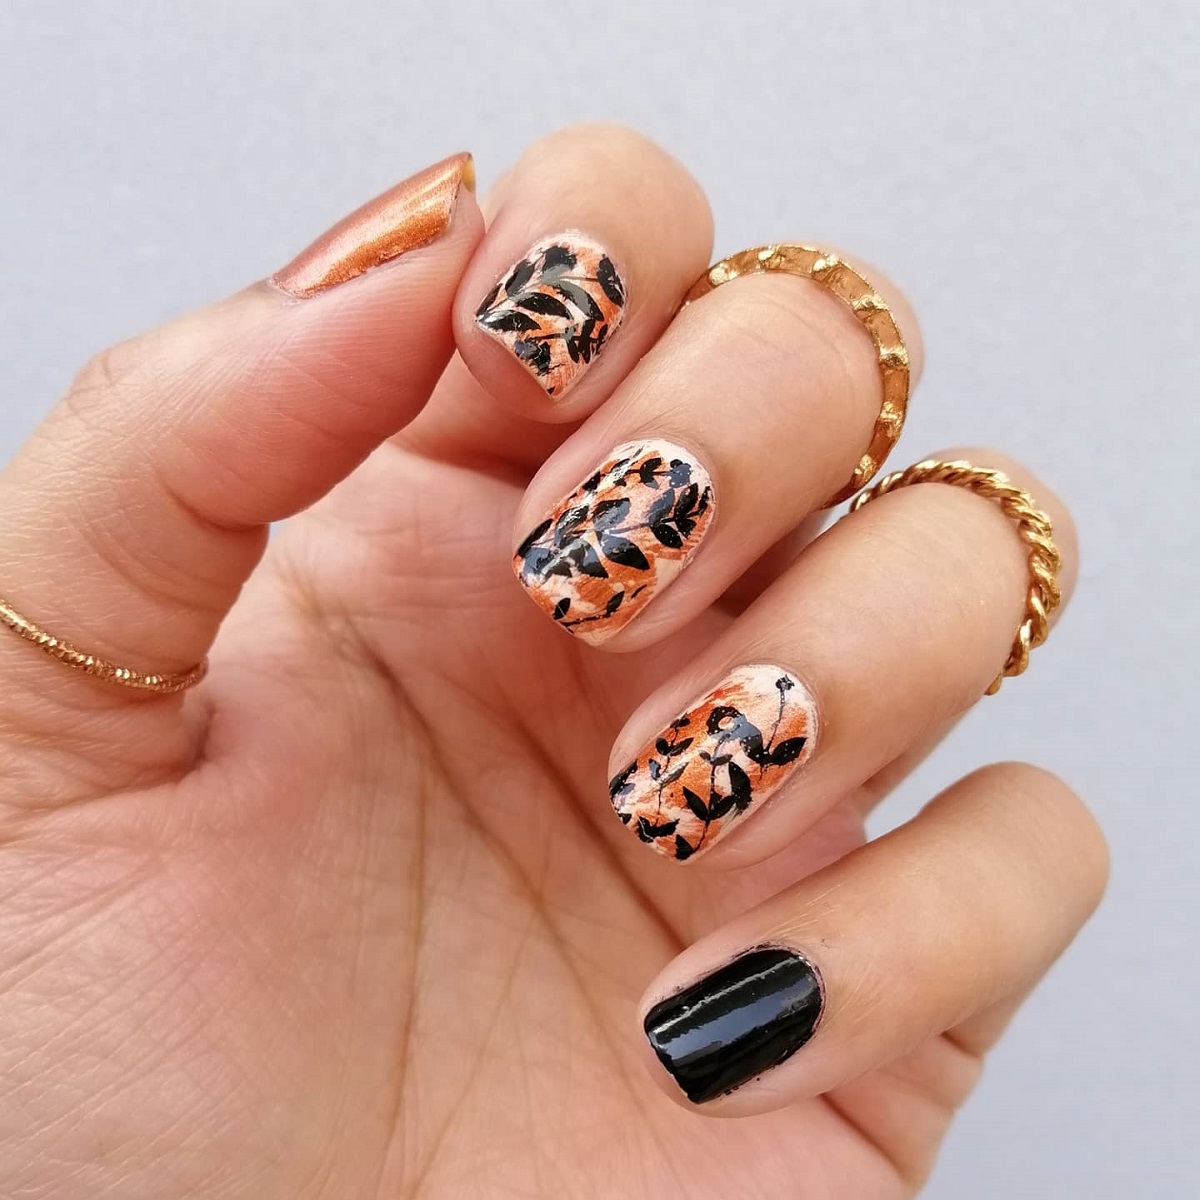
Nail Art, First time trying a botanical design? Try painting a fern using a liner brush. Create the stem by dragging a slender line across the nail at a diagonal angle, then add four dots on each side of it and one at the tip. Connect the dots to the center line to create leaves.
Pop Art Nails
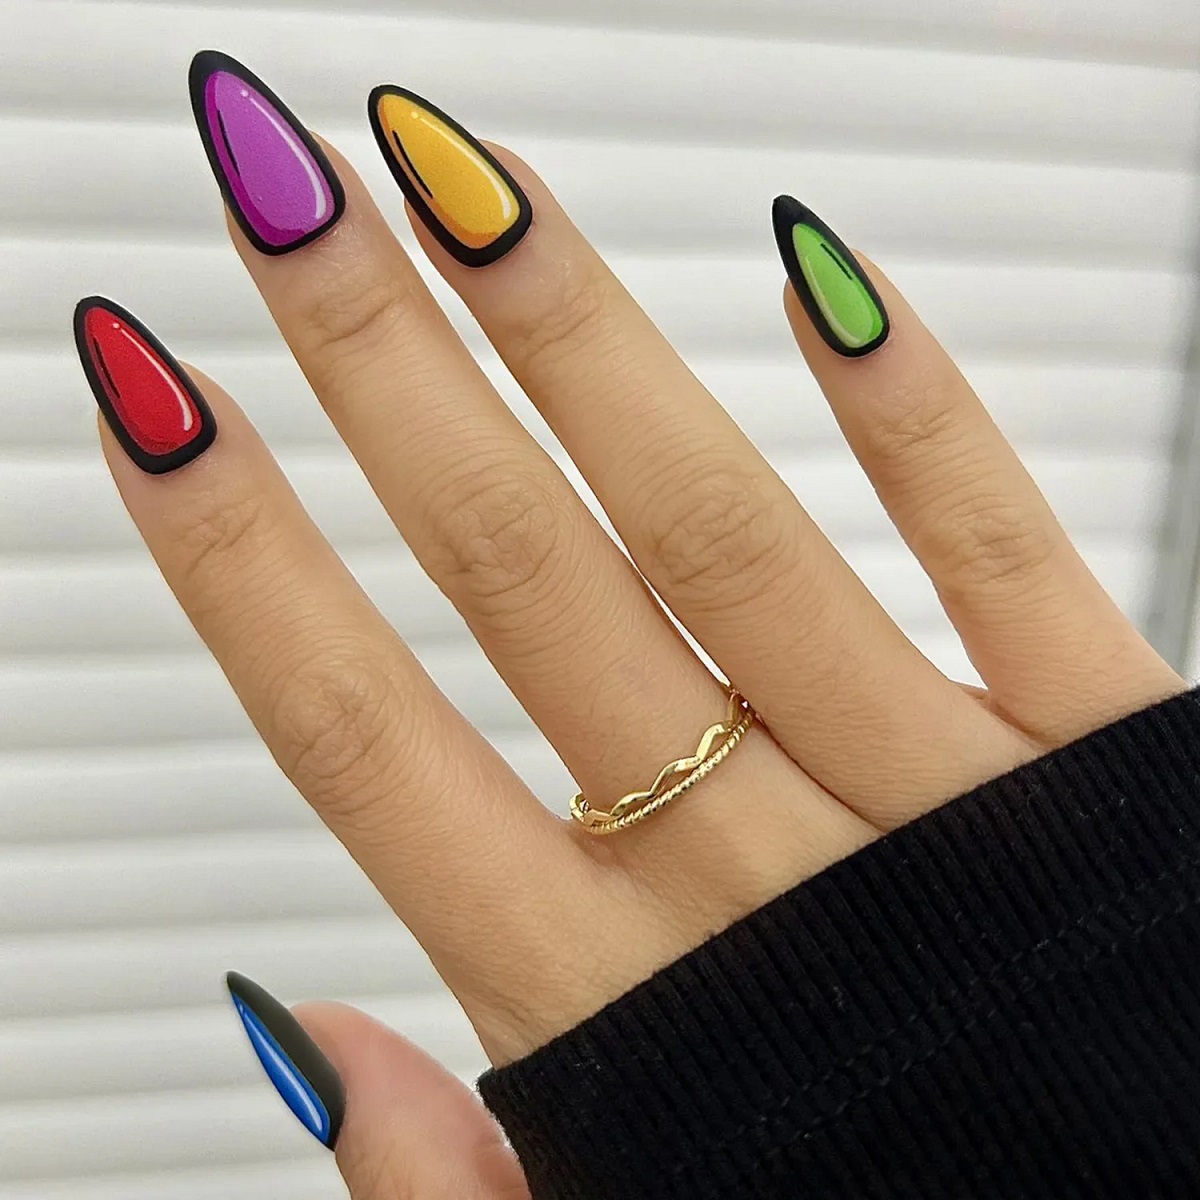
Also called comic book or cartoon nails, this eye-catching nail art design is deceptively easy to pull off. You’ll need a primary color of your choice (preferably something bright) and black and white polishes for highlights. After your primary color is dry, use a liner brush to outline your nail in black. Next, add curved white lines on one side to create a highlight effect.
Celestial Nails
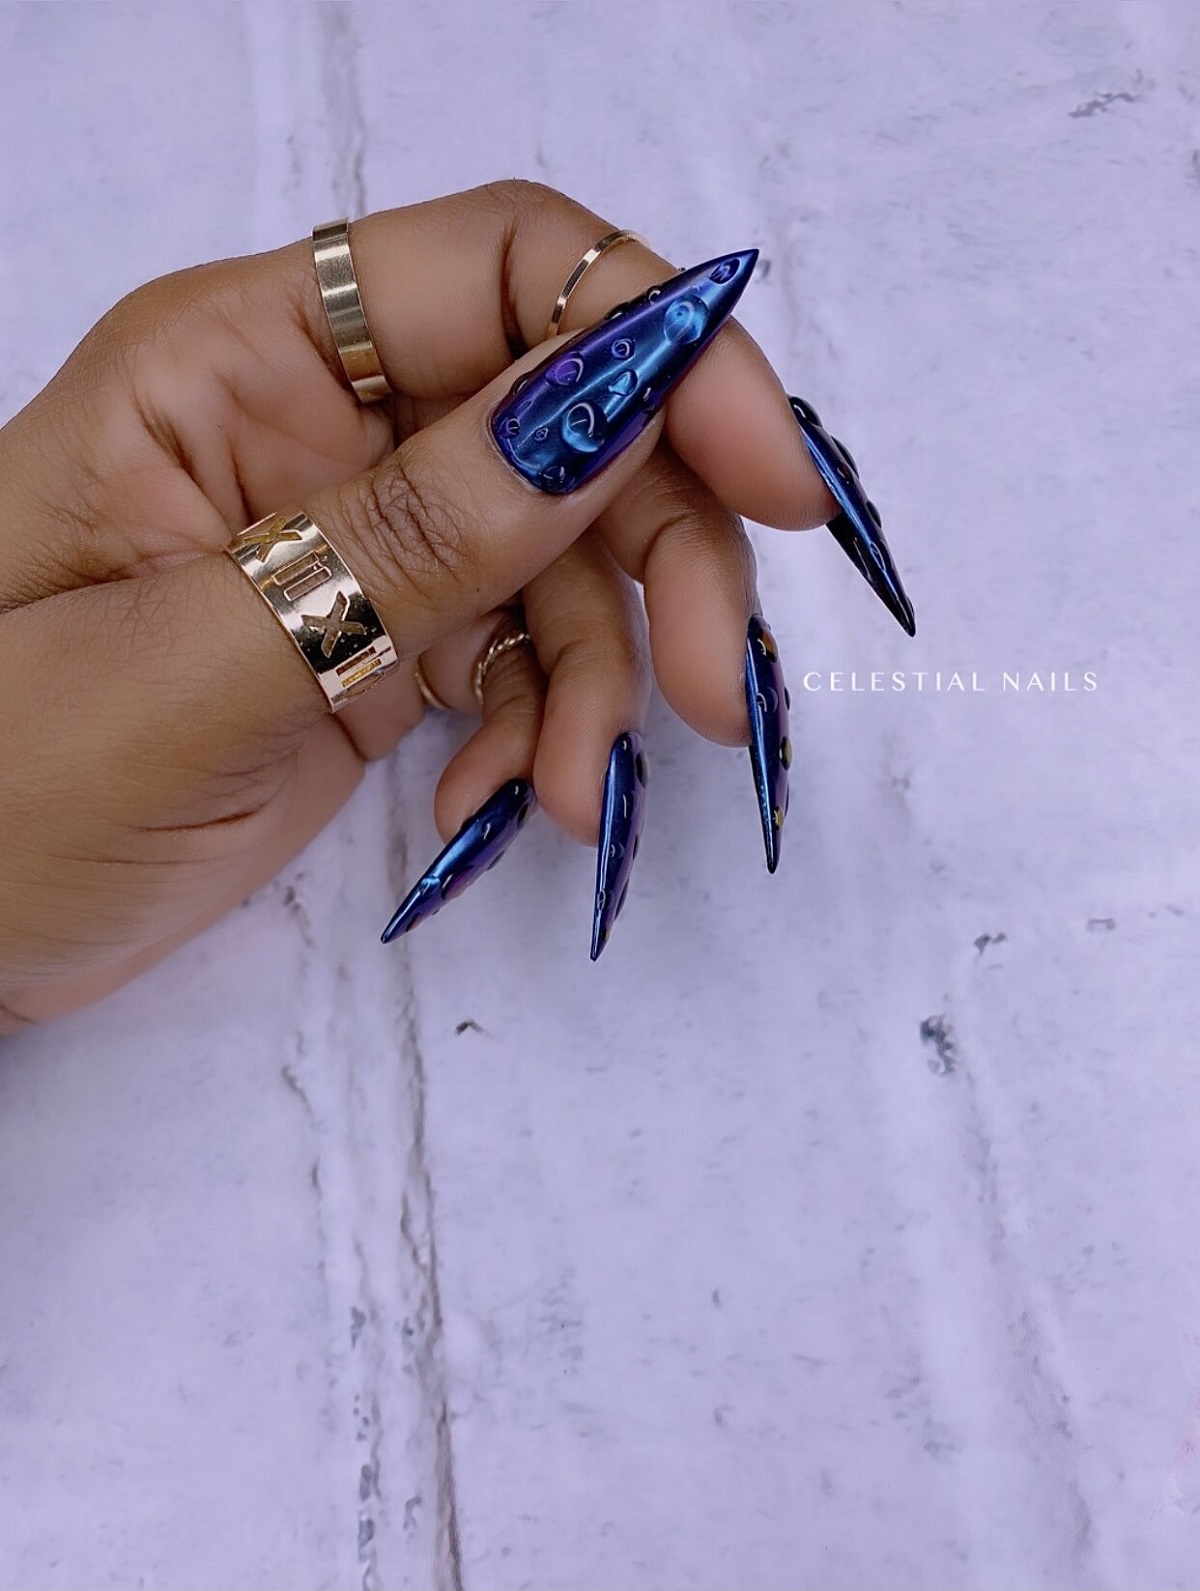
Nail Art, To get the look, start with a black, white or midnight blue base. Use a liner brush dipped in metallic polish to draw slender crescent moons and starbursts. Dial up the glitz with rhinestones or clear glitter polish.
Color-Block Nails
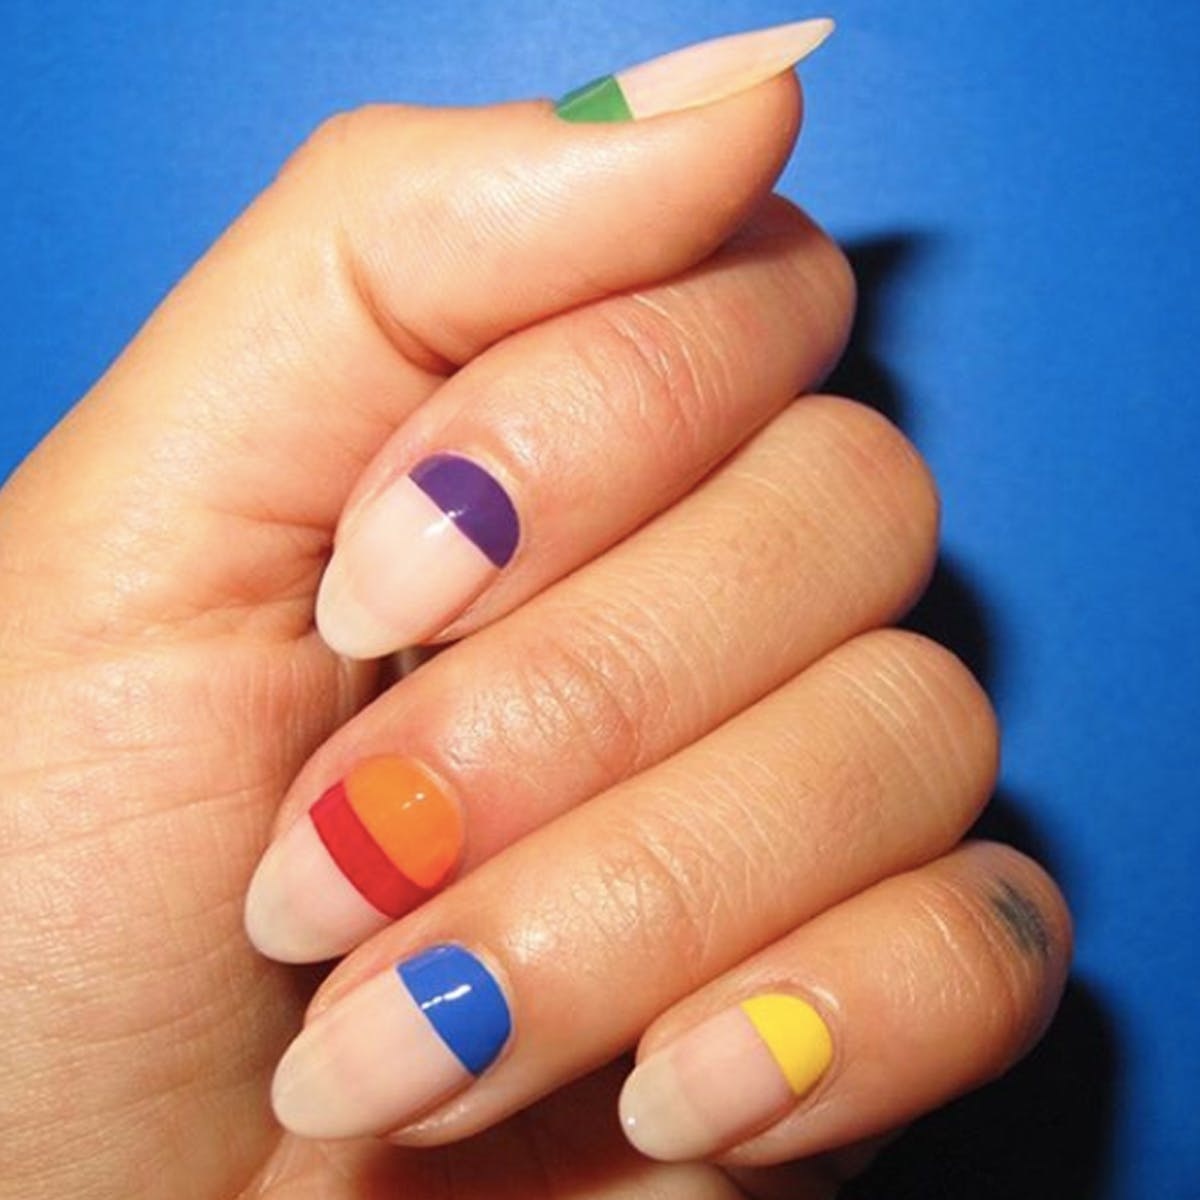
This nail design is quirky and whimsical. Keep it simple with just two colors or pick as many as you’d like for a different combination on every nail. You can dial up the interest with unique compositions—think angled blocks of color, vertical stripes or even wide squiggles.
Marble Nails
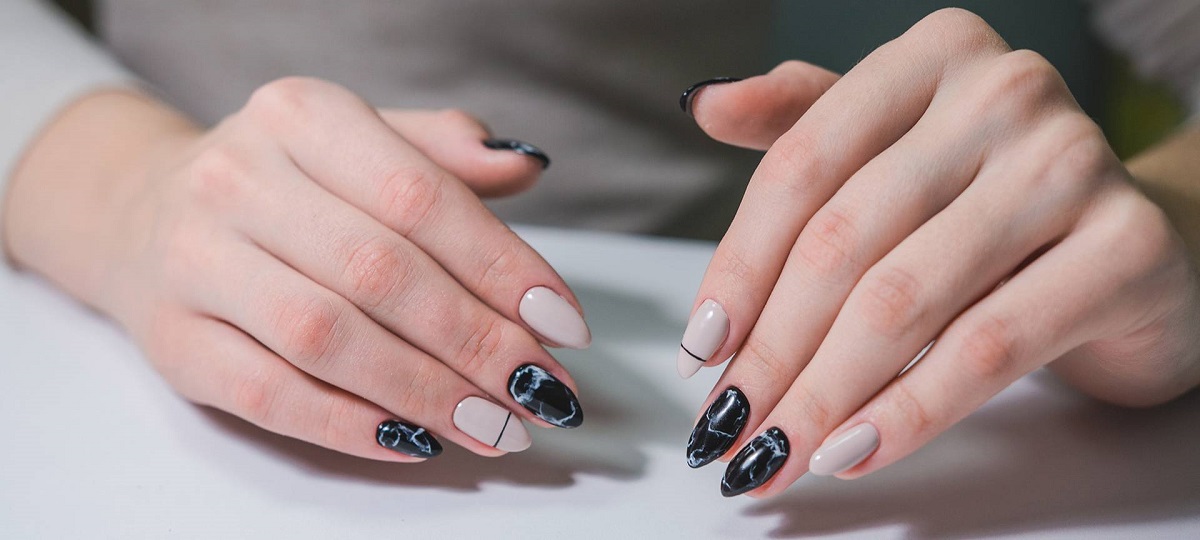
Nail Art, You’ll be surprised by just how easy it is to create this elevated nail look. Apply a white base, then use a liner brush to make freeform lines in grey and black. The trick to making the design look organic is to overlap your lines and alternate their width.
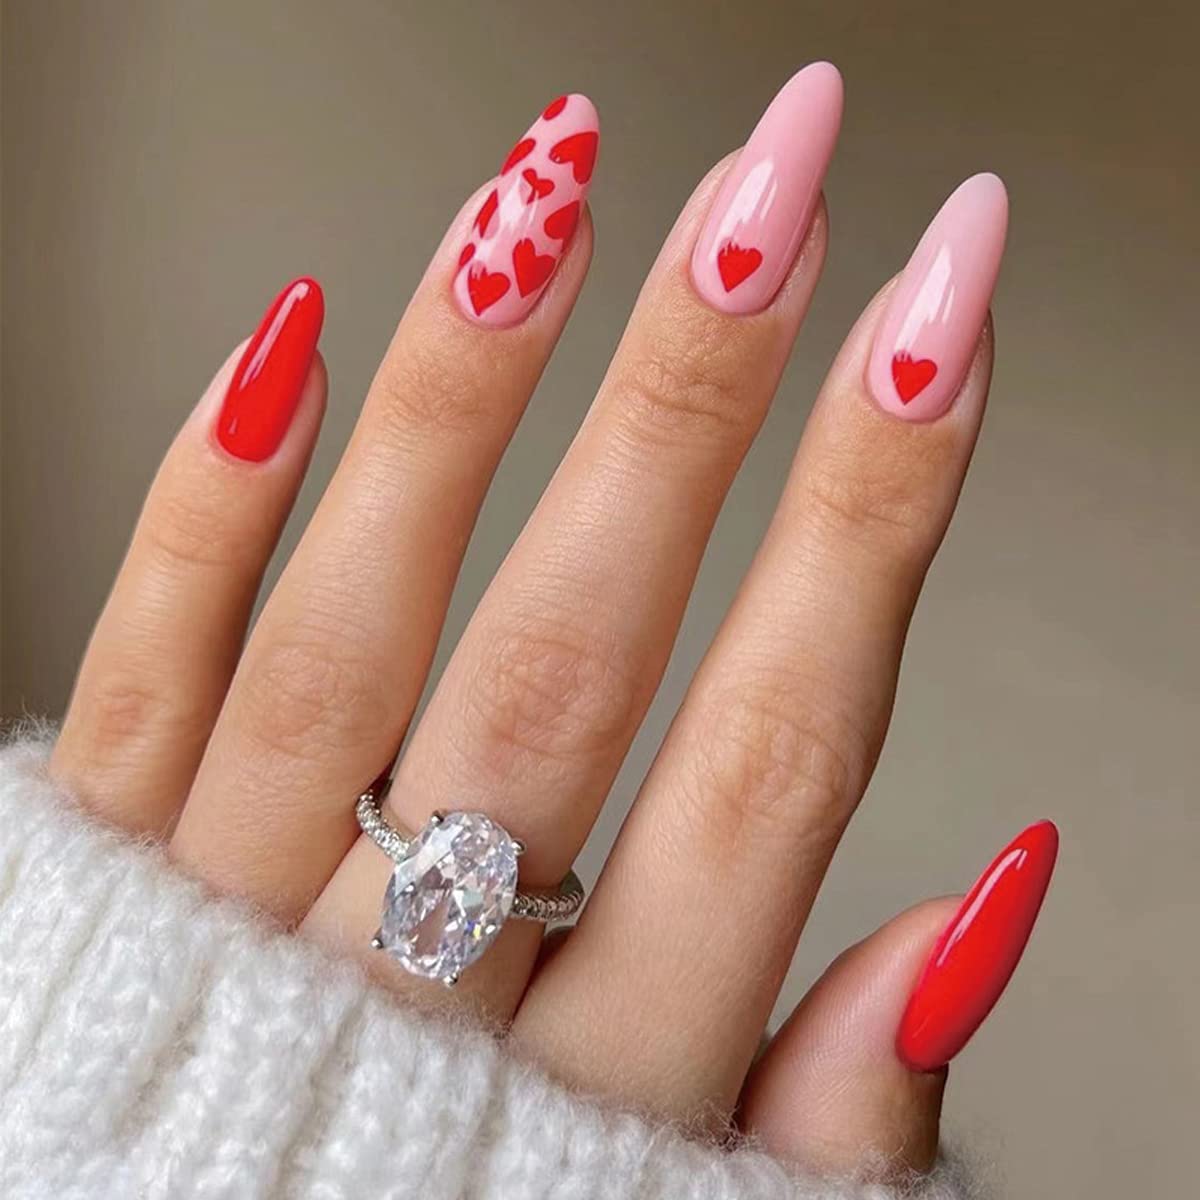
Heart Nails
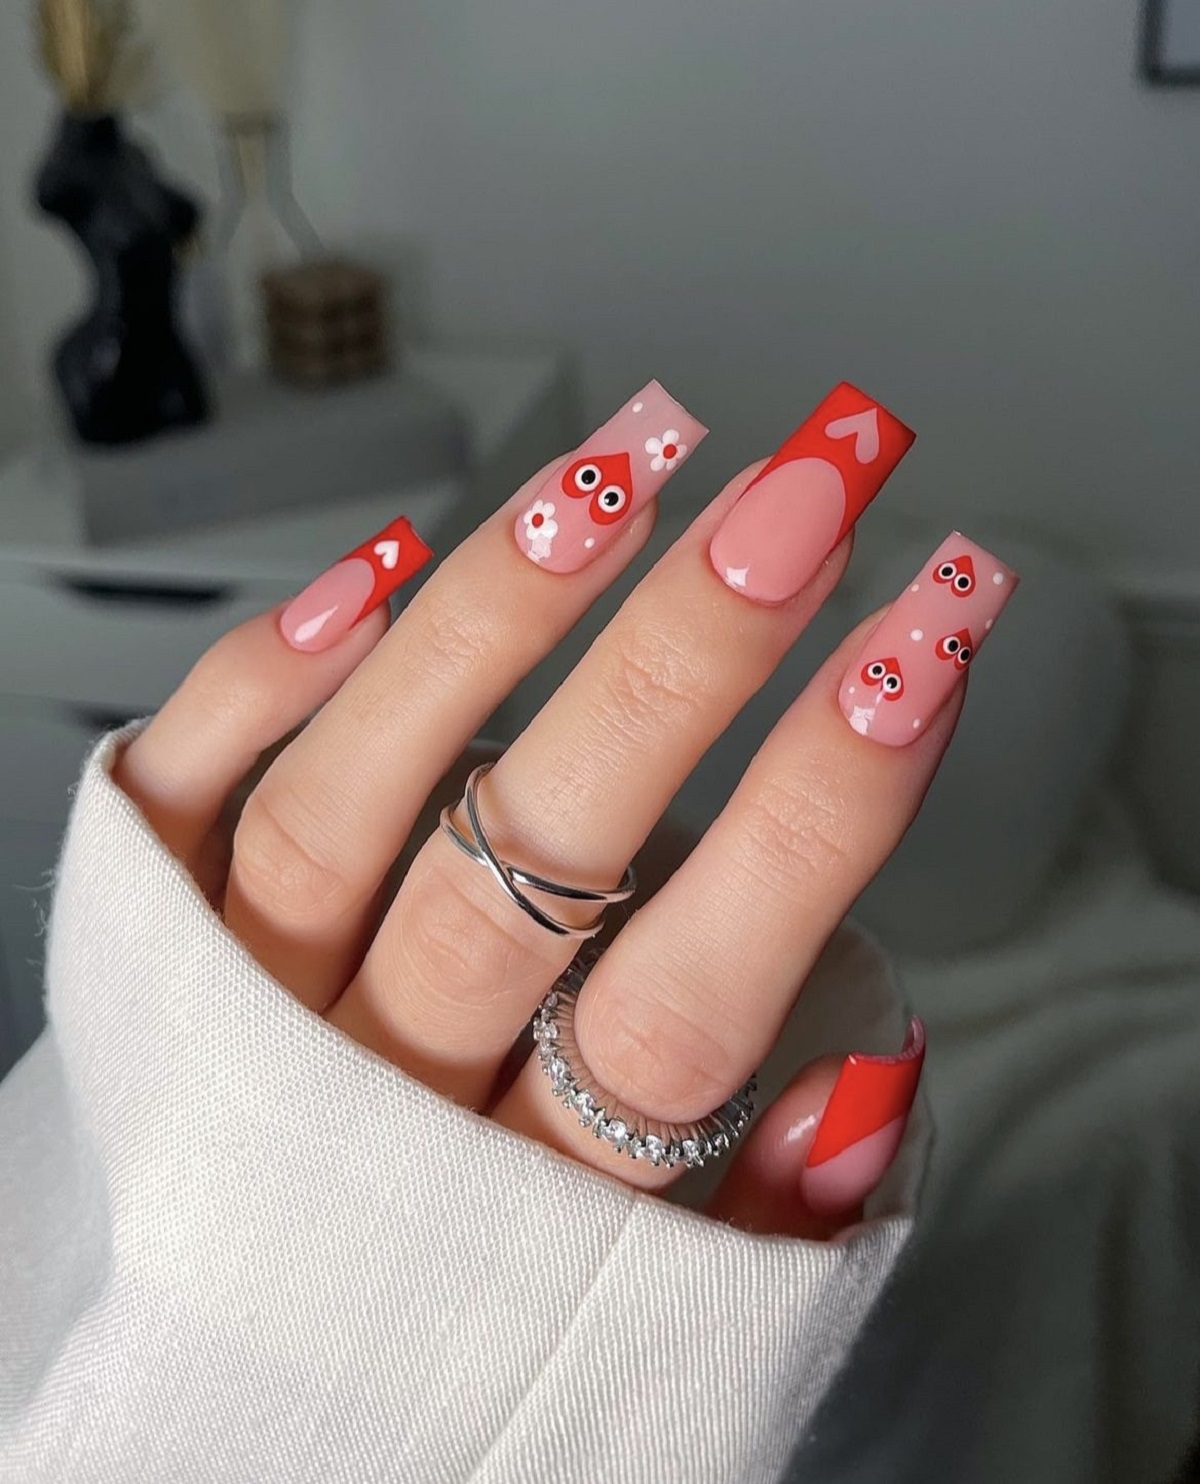
First, file your nail into an oval shape, then paint the top curves of the heart in the middle of your nail so that the tip of your nail acts as the bottom of the heart. Make this cheeky spin on the French tip even more modern by using two bold colors, such as violet and red.
Be sure to complete a thorough polish-removal routine once you’re ready to switch up your nail designs. Gently remove your nail polish, wash your hands and give yourself a soothing hand massage using moisturizer or balm.
Pastel Stripe Nails

Nail Art, Fun, subtle with a pop of color, and practical – something we can’t underestimate the importance of! This pastel nail celebrates spring without going too over the top.
Also Read:
Hair Fall Causes: Hair Fall Types, Causes, Symptoms And Treatment
15 Awesome Home Remedies To Make Your Nails Shiny And Healthy